
Learn how to manually create an appointment for a client when you don’t currently have the availability open for others.
Updated on March 22, 2024
Manually create a new appointment #
Please watch the video to learn how to create a new appointment for a client when you don’t currently have the availability open within your schedule. This is helpful for one-off appointments when you don’t want to open up the availability to anyone else.
- Calendars
- Click on the date and time
- Choose the right contact
- Pick the time and date
- Save the appointment
How to Manually Create an Appointment: A Step-by-Step Guide #
1. Access Calendar Dashboard:
- Open your calendar application.
- Locate the calendar dashboard where you can view all your calendars.
2. Locate Blocked Time (Optional):
- This step is only applicable if you’ve already created a blocked time slot for the appointment.
- If you haven’t, proceed to step 3.
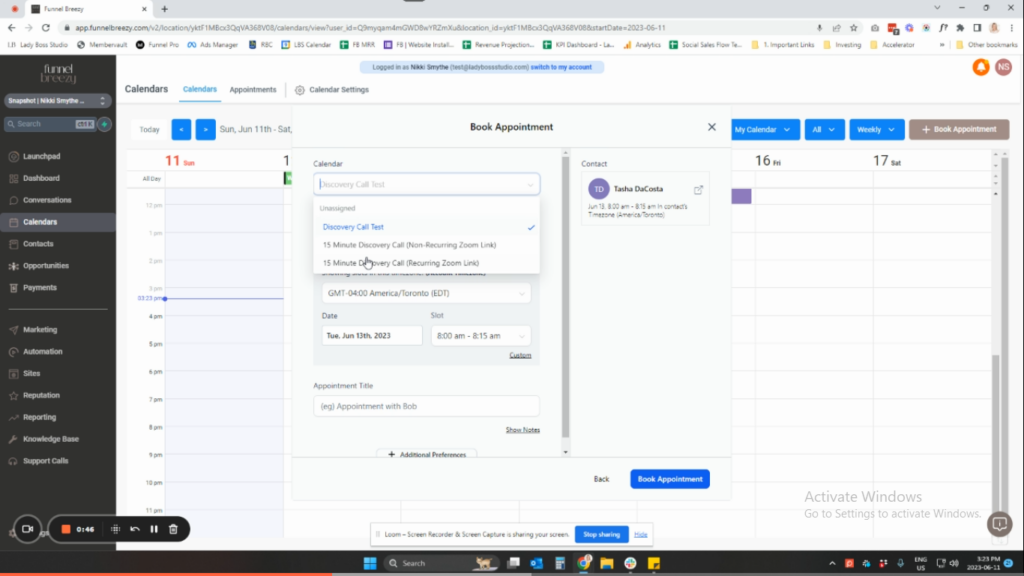
3. Access Booking Menu:
- Navigate to the “Book Appointment” section within your calendar application.
4. Choose Contact:
- Select the client you want to schedule the appointment with.
- You can also add a new contact if this is a new lead.
5. Select Appointment Details:
- Choose the appointment type (e.g., discovery call).
- Assign a team member if applicable.
- Pick the desired date and time for the appointment. (This can be any date/time)
6. Set Appointment Title:
- Create a clear title for the appointment.
- You can use a similar format as your standard booking titles (e.g., Discovery Call with [Client Name]).
7. Meeting Location (Optional):
- If your calendar integrates with Zoom, you can choose Zoom as the meeting location and automatically generate a meeting link.
- Skip this step if Zoom integration is unavailable.
8. Book the Appointment:
- Click the “Book Appointment” button.
- The appointment will be automatically added to your calendar, even if you didn’t choose a specific date and time during selection.
9. Verify Appointment (Optional):
- You can access the “Appointments” section of your calendar to confirm the newly created appointment.


