
Manually adding in a single contact #
In most cases, you will import your contacts all at once, but you may also need to manually add in a contact from time to time. In this video we walk you through how to do that.
- Contacts
- Select the “+” icon at the top left of the screen.
- Enter in their name, email, phone number and then select “SAVE”.
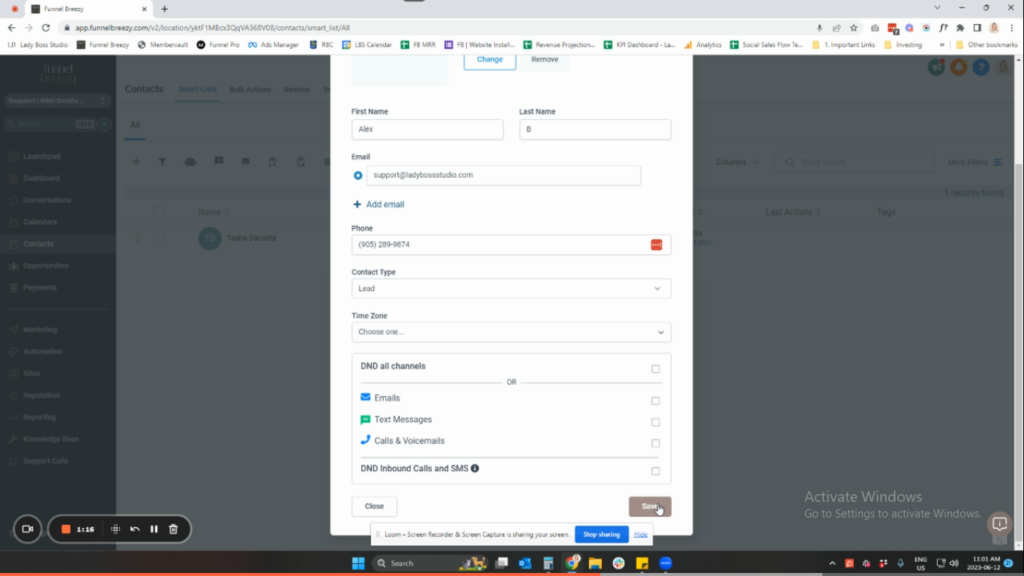
How to Add a Single Contact Manually: A Step-by-Step Guide #
Step 1: Access the Contacts Section
- Navigate to the “Contacts” section within your system.
Step 2: Initiate Contact Creation
- Click the “+” icon (plus sign) labeled “Add Contact.”
Step 3: Enter Basic Information
- Fill in the contact’s first name.
- Enter their email address. A last name is optional.
Step 4: Add a Phone Number (Optional)
- If you have the contact’s phone number and plan to use SMS messaging, enter it here. This step is optional.
Step 5: Choose Contact Type (Optional)
- Select the contact type if you utilize pipelines and opportunities. This could be “Lead” or “Customer.” If you don’t use these features, this step isn’t crucial.
Step 6: Save the Contact
- Click the “Save” button. This will create a new contact in your system.


