
How to add a custom subdomain to your client portal #
In this video, you’ll learn how to add in a custom subdomain for your Client Portal from within your Domain Registrar.
How to Set Up a Custom Subdomain for Your infinity interface Client Portal #
This guide will walk you through setting up a custom subdomain for your brand new client portal using infinity interface.
Why Use a Custom Subdomain?
- It creates a more professional and branded experience for your clients.
- It’s highly recommended over using the basic subdomain provided by infinity interface.
Step 1: Choose Your Subdomain Name
- While the video suggests “portal” as an example, you can choose any name you prefer.
Step 2: Access Your Domain Settings in infinity interface
- Go to “Sites” > “Client Portal” > “Domain Setup”.
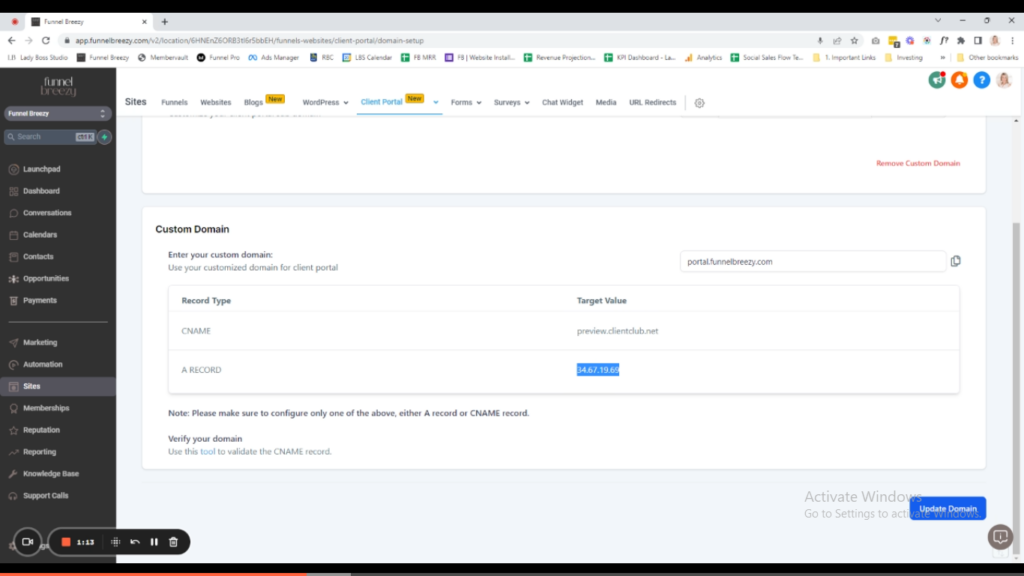
Step 3: Enter Your Custom Domain
- Scroll down to the “Custom Domain” section.
- Enter your desired subdomain name followed by your domain name.
Step 4: Find Your A Record IP Address
- In the “Custom Domain” section, copy the provided A Record IP address.
Step 5: Access Your Domain Registrar Account
- Log in to your domain name registrar account (e.g., GoDaddy, Namecheap, Bluehost).
Step 6: Locate Your Domain Management
- Navigate to your domain list and select the domain you want to use.
- Find the option to manage your domain’s DNS records (it might be called “Advanced DNS”).
Step 7: Add a New A Record
- Click “Add New Record” or a similar option.
- Choose “A Record” as the record type.
Step 8: Configure the A Record
- In the “Host” field, enter your chosen subdomain name (e.g., portal).
- In the “Points To” or “Value” field, paste the A Record IP address you copied from infinity interface.
- Save the new A record.
Step 9: Wait for Propagation (Important!)
- It can take up to 24 hours for the changes to take effect.
- The video mentions the possibility of needing to refresh the domain settings in infinity interface a few times.
Step 10: Verify Your Domain in infinity interface
- Once you’ve waited for propagation, return to the “Custom Domain” section in infinity interface
- Click “Update Domain”. You might see an “Invalid Domain” message initially, but keep refreshing if necessary.
Congratulations! You’ve successfully set up your custom subdomain for your Infinity Interfcae client portal.


